Part 1: Circuit Simulation with EasyEDA ▶
EasyEDA Simulation
In this exercise, we will focus on EasyEDA's simulation. Watch these tutorials to get started:
Getting Started with EasyEDA
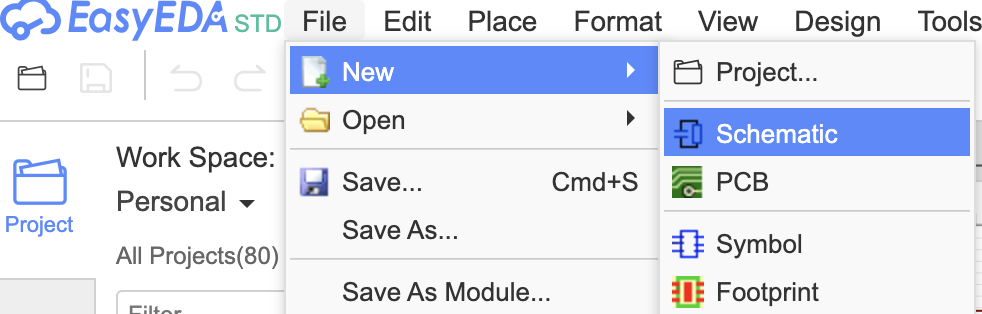
Step 0: Access EasyEDA Editor
- Go to https://easyeda.com/
- Click on "Online Editor (Std Edition)" button
- You'll be directed to the EasyEDA editor: https://easyeda.com/editor
- Login or Register (free account)
- You can now start creating schematics and simulating circuits!

How to Use EasyEDA Simulation
Step 1: Open Simulation
Open Project: File → Open (Ctrl+O) to browse saved or example projects
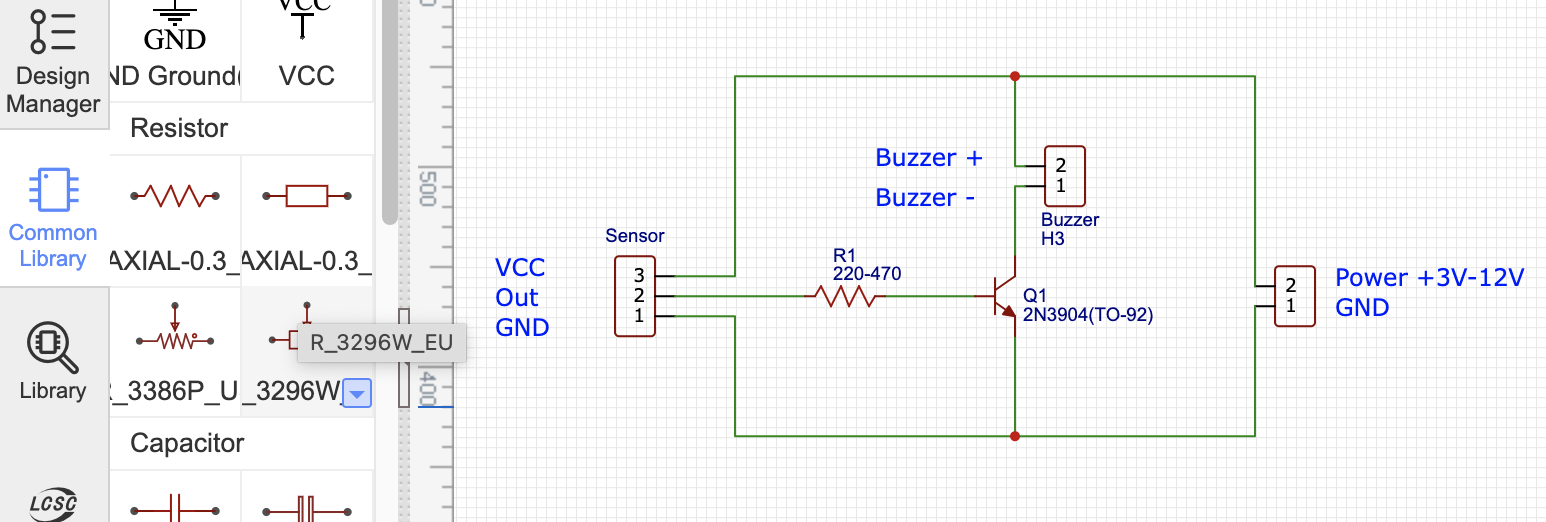
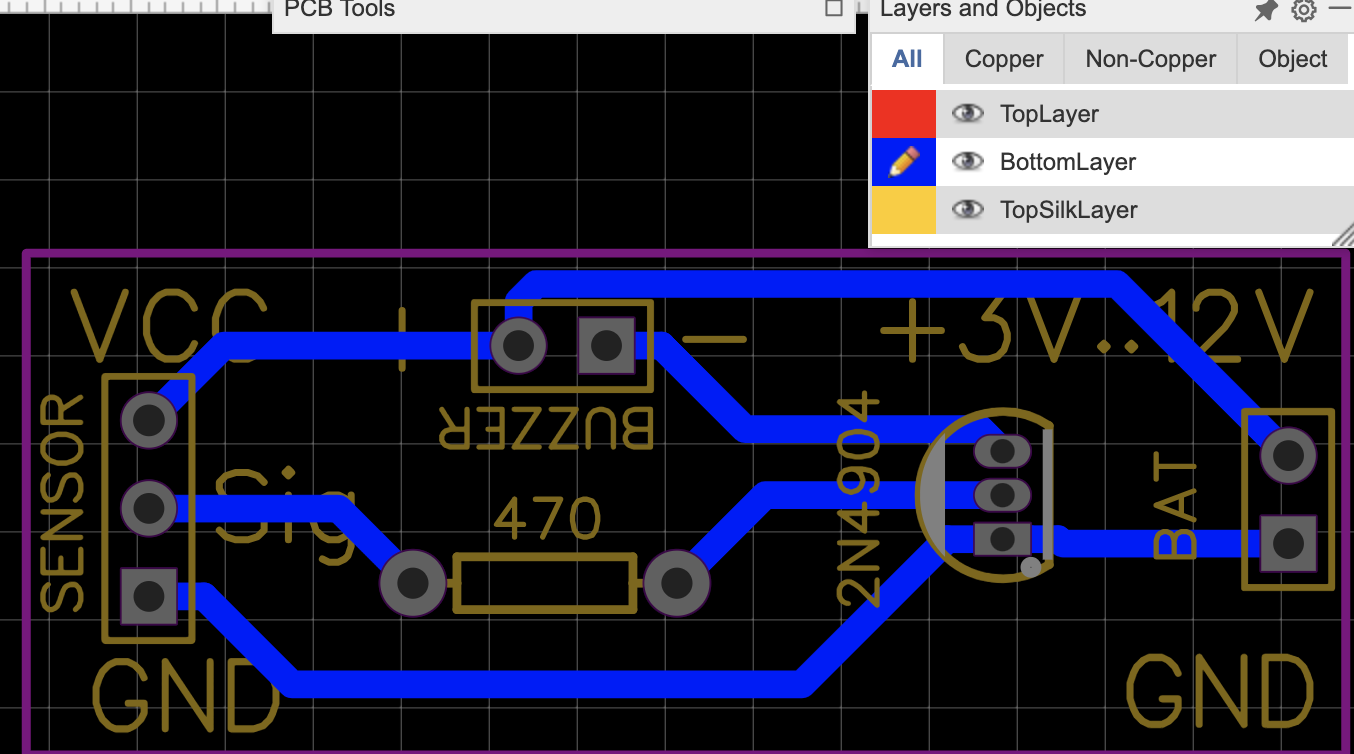
- Open your schematic in EasyEDA
- Click "Simulation" in top menu
- Select "Spice Simulation"
- Simulation window opens

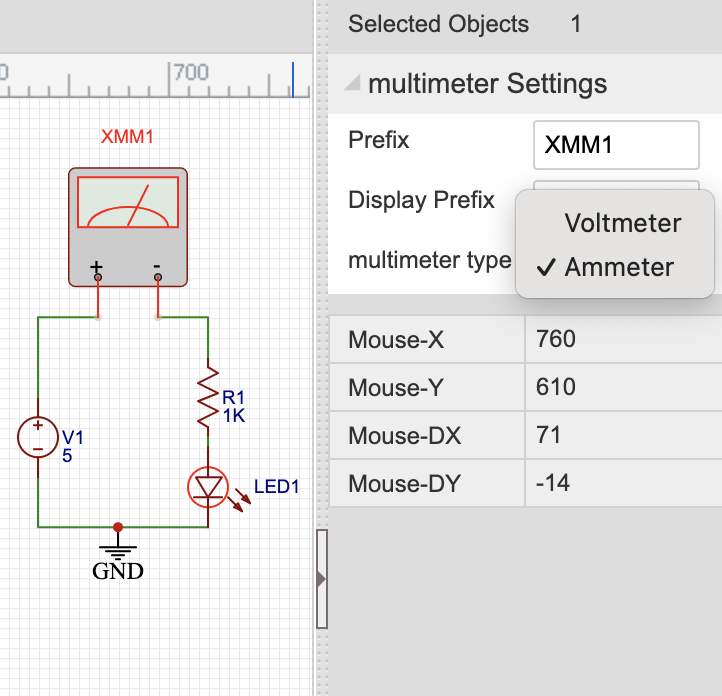
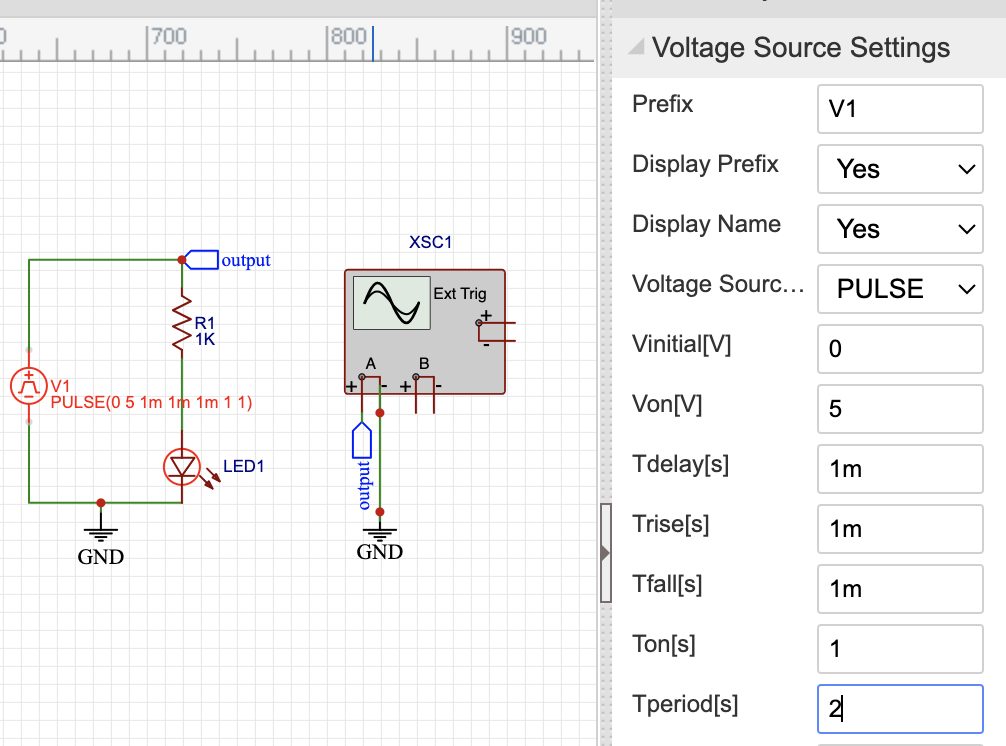
Step 2: Add Components
- Add a voltage source (Press V or from component library)
- Add resistor, LED, or other components you want to test
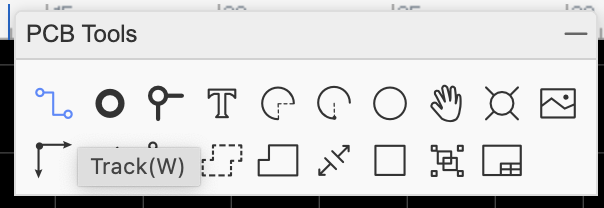
- Connect components with wires (Press W)
- Add ground symbol (essential for simulation)
- Set component values by double-clicking them
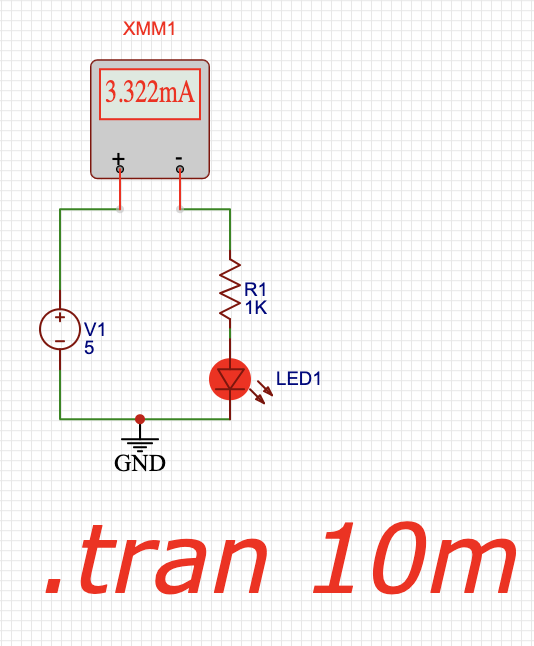
- Note: To add ammeter (current meter), click on the meter component and select "Ammeter" - default is voltmeter
Step 3: Run Simulation
- Click the voltage source and change default 1V to 5V
- Click "Simulation" → "Run the Simulation" from the top menu
- Or click "Run the Simulation" button or the play icon in the top menu
- Choose simulation type (Transient)
- Click "Run"
Exercise 1: RC Filters - Low-Pass and High-Pass
Exercise Goal
Build and test both low-pass and high-pass filters to understand frequency filtering.
What you'll learn:
- Low-pass: Filter high frequencies from measurement signals (noise and interference) - most common with Arduino
- High-pass: Block DC component from signal - especially useful in audio signal processing
- Test how signal weakens at different frequency values
- Calculate and verify cutoff frequency
Useful resources:
📝 Task: Design both low-pass and high-pass filters with cutoff frequency fc = 1kHz. Test each filter by changing the input frequency to verify they work correctly.


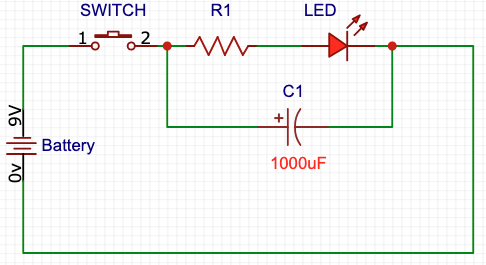
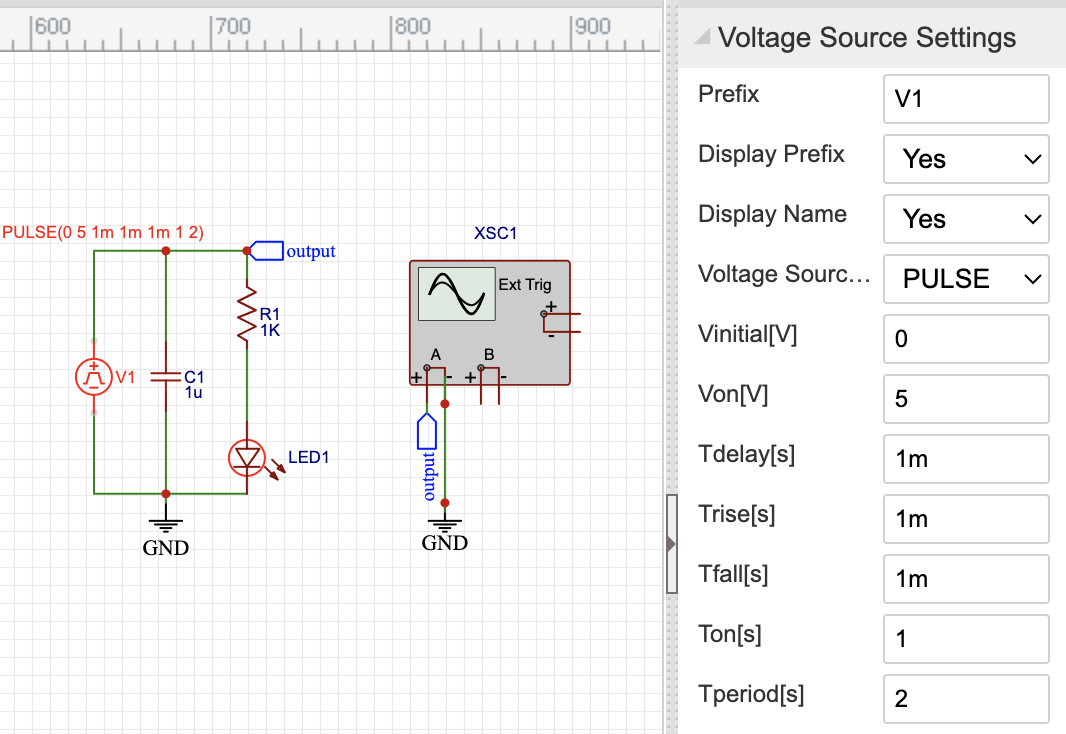
Exercise 2: LED with Capacitor - Slow Fade Effect
Exercise Goal
Simulate the same LED + capacitor circuit you built in Workshop 0. Observe how the capacitor affects LED behavior when the switch is opened.
What you'll learn:
- Capacitor stores energy and releases it slowly
- LED fades out slowly instead of turning off instantly
- Time constant τ = RC determines fade speed
- Same phenomenon you saw in Workshop 0, now simulated!
- Experiment: Try different settings to see the effect clearly
LED Fade Time Calculator
Time Constant Calculator
LED Fade Time
Exercise 3: RLC Resonance Circuit (Advanced)
Exercise Goal
Demonstrate voltage amplification at resonance: voltage across capacitor can be HIGHER than input voltage!
What you'll learn:
- At resonance: Vcapacitor > Vinput (voltage gain without active components!)
- Principle behind crystal radios (AM radio without batteries)
- Applications: Crystal radio, tone selection in touch-tone phones
Learn more:
RLC Resonance Calculator and Plotter
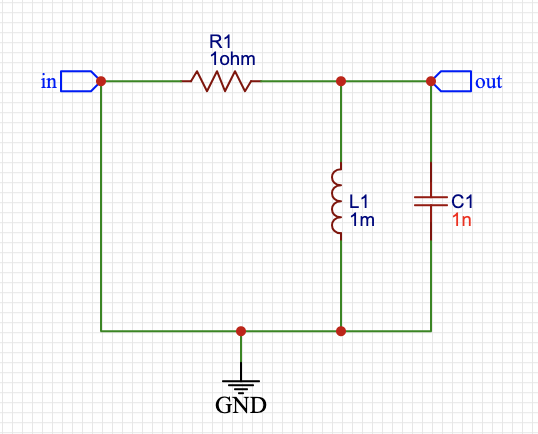
RLC Values
Measure across C
Input Signal
Output
📻 Crystal Radio - Fun Fact

RLC resonance → crystal radio! Antenna → L-C resonance → diode → sound. No batteries needed!
▶ YouTube - Crystal Radio Tutorial
We won't go deeper here to prevent things from getting completely out of hand... 😅